|
In this video, we will be learning about server installation and active directory ( Installation of Domain Controller and DNS ) 1.Server Installations Installing Windows Server 2008 Step 1: Open virtual box machine and click the “New” and upload the ISO “Server 2008” that you download earlier  Step 2: Click next until it says finish and wait it to download  Step 3: Start downloading the inside of it and wait again   Step 4: Start downloading the inside of it and wait again andtype your new password and you are all set! 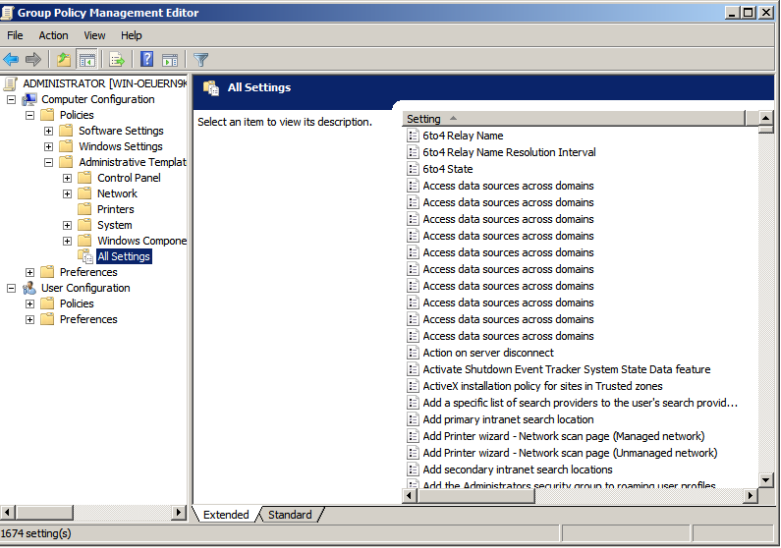  1.1 Settings with proper setup requirements Step 1: Configure Static IP Address > Go to "Control Panel" > then click "Network and Sharing Center" 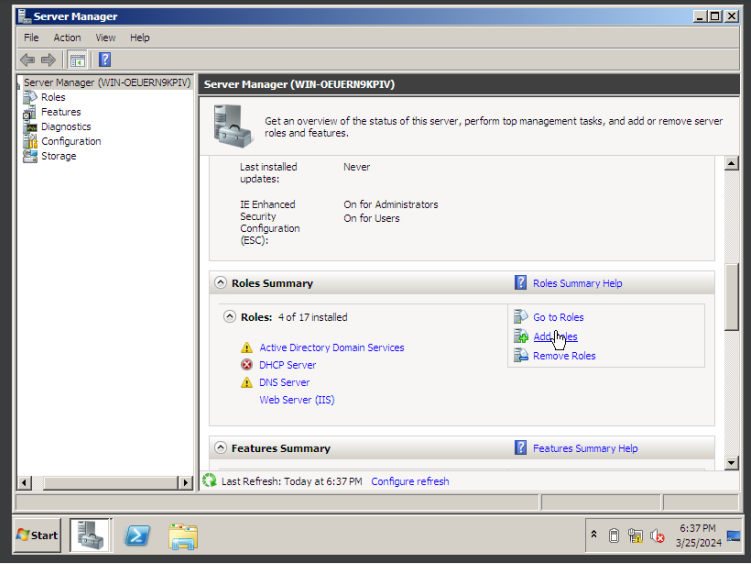 Step 2: Click on "Change adapter settings" 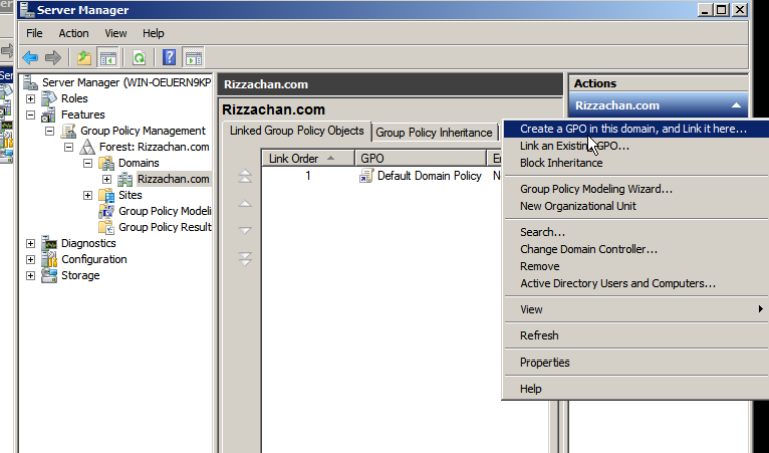 Step 3: Select "Internet Protocol Version 4 (TCP/IPv4) " ang click "Properties" Step 4: Choose the "Use the following IP address" and enter the static IP address, subnetmask, and default gateway. Provide the following. Step 5: Set the computer name > right click the "computer" on the Start Menu. > select properties  Step 6: Under "Computer name, domain, and workgroup settings," click on "Change settings."  Step 7: In the "System Properties" window, click "Change" button. Enter a unique name for your server under "Computer name."  Step 7: Click "ok" and you're done! Step 8: To join a workgroup or domain, in the same "System Properties" > click "change"  Step 9 : Select the "Workgroup" > Enter a workgroup name > click "OK."  Step 10: To set the windows update > open "Control Panel" and go to "System and Security." > click on "Windows Update"  Step 11: Click on "Check for updates" and install any available updates. > Configure automatic updates for ongoing maintenance. Step 12: To set the time zone configuration > click "Start" and open "Control Panel." > click "Date and Time"  Step 13: in the "Date and Time" tab, click "Change time zone" > select time zone and click "ok".  Step 14: Click "OK" in the "Date and Time" window to apply changes. Once you finish setting up the Network Settings, lets head over to the “Active Directory” Configuration 2.2-2 Active Directory/Installing Domain Controller &DNS Step 1: To install domain controller > open "Server Manager" from the Start menu. > in the Server Manager window, click "Roles" in the left corner.  Step 2: Click "Add Roles" and select "Active Directory Domain Services." > follow the installation wizard to install.  Step 3: After the role is installed, promote the server to a domain controller. 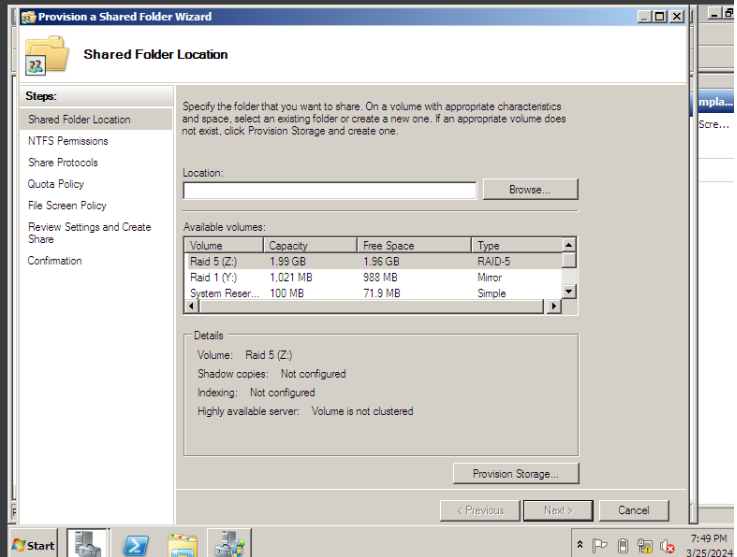 Step 4: Configure the domain by following the wizard, providing a Directory Services Restore Mode password and DNS settings. > Go to Active Directory Domain Services 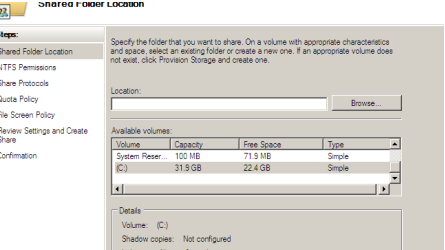 Step 5: click the "Run the Active Directory Domain Services ... "  Step 6: Click "Next" 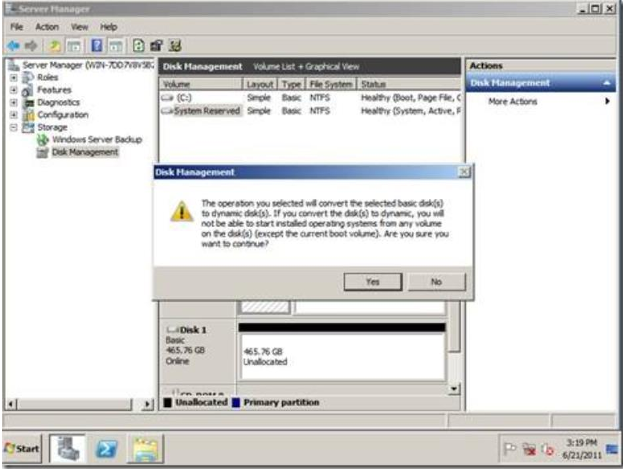 Step 7: Create a new domain or new forest 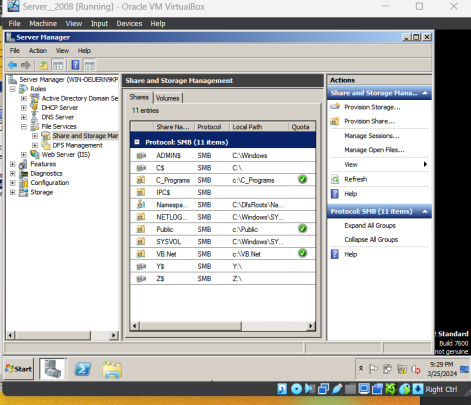 Step 8: don't forget .com 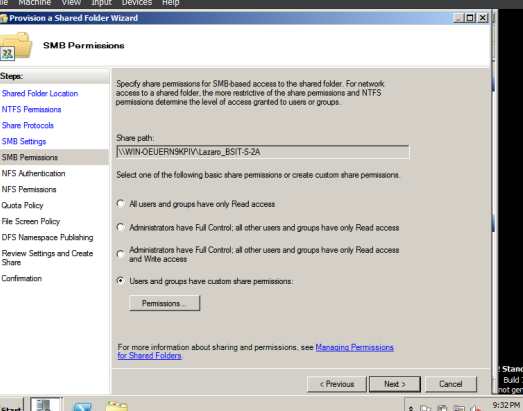 Step 9: Create a password 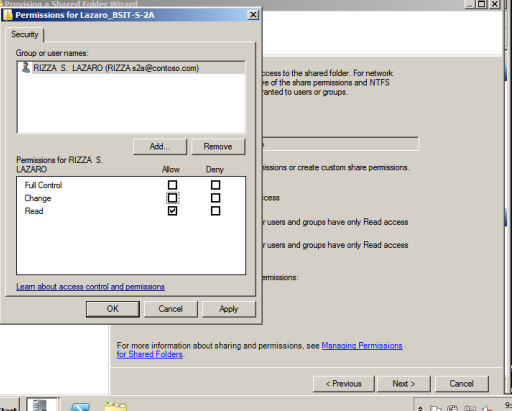 Step 10: wait it to install 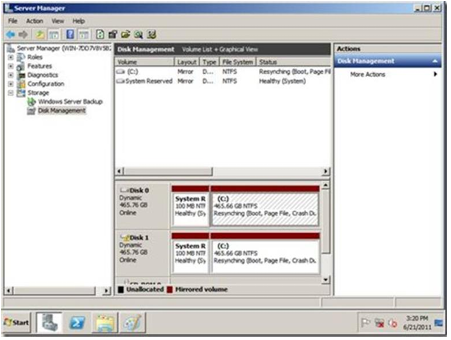 Step 11: after u install it, restart the computer and you're done!
0 Comments
|
View the PDF file.You can download PDF file here.
|
||
